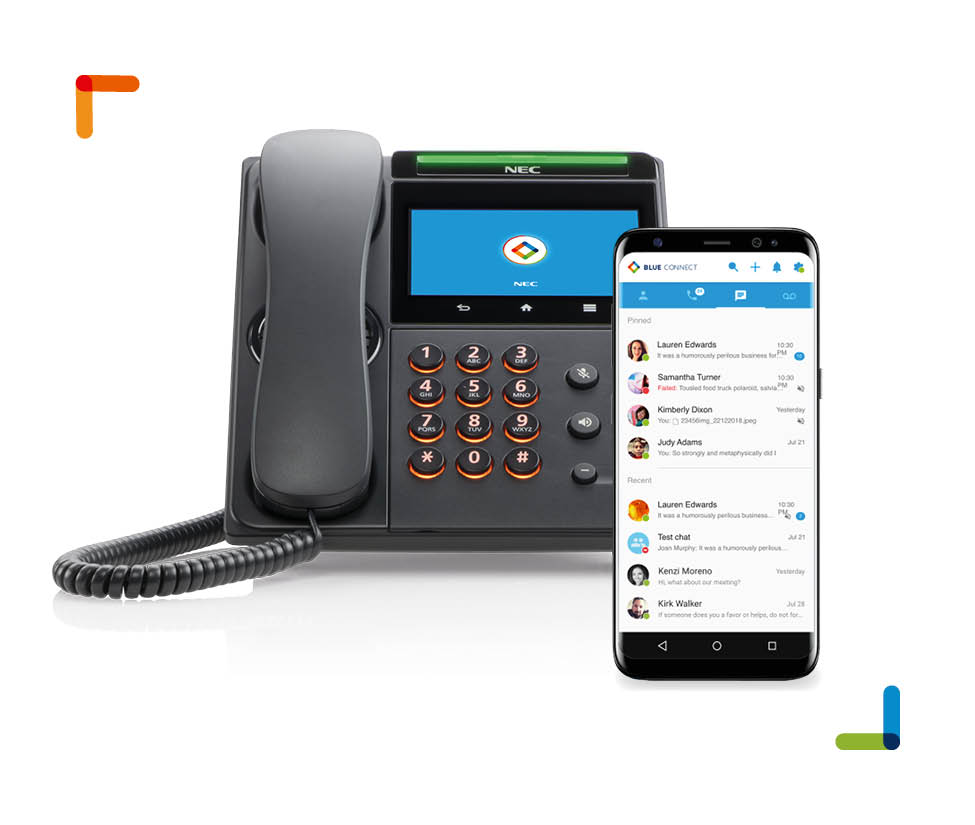
X-616 Telephone Display Layout

Posted on Leave a comment

Time And Date

The system time and date can be set in system programming or by using Caller ID. Caller ID, if subscribed for, will set the system’s time and date and automatically reset the clock for daylight savings.

Caller ID

Caller ID is a standard feature of the system. When received from the telephone network, it will identify caller and synchronize the date and time of the system. Each call into the system is stored in the Caller ID list.

Phone Book

There are fifty phone book (speed dial) locations, each can up to 24 digits, and a name of up to 16 characters.

Programming Key

The system has two areas of programming; Phone (extension) and System. The Phone programming parameters will only affect the extension that is doing the programming; whereas, the system programming parameters affect the whole system.

Line Keys

When placing a network call, Telephone Company or VoIP line, press the line button, or dial 9 to access a line. You can speak on the speakerphone, or lift the handset to speak privately. Line buttons that are unlit are free to use. If they are lit blue they are busy and the line that you selected will be lit green.

Voice Mail

The center navigation button is equipped with a Light Emitting Diode (LED) which flashes when you have a new voice mail message. At default the LED will be lit indicating that the extension is forwarded to
voice mail.  New voice mail messages are indicated on the display.

Extension Number

Valid numbers are 301 through 399.

shopping basketVisit our online store to purchase a X616 phone system

NEC DSX Personal Speed Dial Programming

Posted on

The personal speed dial buttons on the NEC DSX 22B Display Tel and the DSX 34B Display Tel are the ten buttons located directly below the display. The first of these buttons corresponds to speed dial bin 701 and the last speed dial 710. Once a speed dial number has been stored in a bin you can dial that number by simply pressing the corresponding button.

Programming

  1. Press the softkey under Menu
  2. Press the softkey under Spd
  3. Press one of the ten speed dial buttons that you want to program
  4. Press the HOLD button
  5. Dial 90 at the Line/Group/Intercom: Prompt (this will automatically select a line by inserting a 9)
  6. Press the HOLD button
  7. Enter the telephone number to store
  8. Press the HOLD button TWICE
  9. Enter the name for the speed dial number (this is used for directory dialing)
  10. Press the HOLD button
  11. Press the next speed dial button or Speaker to exit

Samsung message light stays on but there are no messages

Posted on

basketVisit our online store to purchase Samsung telephones

The status indicator light is located at the top right of your Samsung iDCS18D and iDCS28D phone. This indicator flashes whenever you have a message waiting on your phone and turns solid red when your phone is in use. Occasionally that indicator light will remain flashing even though you have no messages.

Why?

Before voice mail systems existed you could use a feature of the phone system to let a co-worker know you tried to contact them. You would dial a feature code (41) and it would make that indicator light flash. When your co-worker returned to their desk they would see the light flashing and dial another feature code (43) and it would call the iDCS28D phone that set the message. These feature codes are rarely used now because of the prevalence of voice mail systems.

What usually happens is this: Someone tries to dial a telephone number but forgets to get an outside line first by dialing 9 or pressing a line button. The telephone number they try to dial begins with 41XXX where the X is an iDCS 28D or iDCS18D extension number thus turning the message waiting light.

Turning The Light Off

To cancel the message:

  1. Leave the handset in the cradle
  2. Dial 42 + XXX (where XXX is your extension number)

TUTORIAL

If you found this article helpful please leave a comment!

NEC DS2000 User Guides and Manuals

Posted on

DS2000 User Guides

DS2000 multibutton feature guide

DS2000 phone quick reference guide

DS2000 System Guides

DS2000 Harware Manual – Descriptions of the NEC DS2000 components and hardware.

DS2000 Software Manual – Instructions for programming the NEC DS2000 phone system.

Voice Mail Guides

DS2000 Intramail Manual – NEC DS2000 and  DS1000 Intramail Programming Guide.

DS2000 Intramail Feature Guide – This manual explains the various features available on the NEC DS2000 Intramail.

Need help with your DS1000 or DS2000 phone system? Contact us at 866.898.2303 option 2 or use the form below.

Making A Conference Call on a NEC DSX 22B display telephone

Posted on

The NEC DSX-40, DSX 80 and DSX 160 phone system can do a conference call with up to 8 members. This can be a combination of outside lines (up to the number of telephone lines you have from the phone company) and internal extensions. With the NEC phone system you can have a maximum of 8 simultaneous conferences.

To make a conference call on a NEC DSX-40, DSX-80 or DSX-160 telephone system:

While you are talking on an outside line or an intercom call:

  1. Press the CONF button (bottom right of phone).
  2. Press a line button, hotline button, dial an extension number or dial 9 followed by the telephone number you wish to add.
  3. Press the CONF button to start the conference.
  4. To add additional members repeat steps 1 – 3.

NEC DSX Line Ringing

Posted on

Incoming calls on a NEC DSX telephone system usually follow Key Ringing (3112).  The DSX 22B and 34B Display Phones can be programmed to ring or not ring on an individual basis by using the feature code # 7 2 5.   Press # 7 2 5 and you’ll notice that all of your line appearance buttons are now either red, green, or amber. 

  • A red light means your phone will not ring (lamp only).
  • Green means your phone will ring (standard).
  • Flashing Green means a delay ring.
  • Slow flashing green means night ring.

Press the line button repeatedly to cycle through the ring types.  Press the speaker button when you are finished.  If you press # 7 2 5 and do not see any lights on your phone you may be using loop keys instead of line keys and will need to enter system programming to make your phone ring.

Tutorial:

Samsung Literature

Posted on Leave a comment

General Descriptions

OfficeServ 7100 General Description – List of Samsung OfficeServ 7100 parts and features.

OfficeServ 7200 General Description – List of Samsung OfficeServ 7200 parts and features.

OfficeServ 7400 General Description – List of Samsung OfficeServ 7400 parts and features.

User Guides

iDCS 18D User Guide

iDCS 28D User Guide

Samsung DS-5000 Series User Guide

Samsung 5121 IP Phone User Guide

Samsung 5007 IP Phone User Guide

Samsung 5112 IP Phone User Guide

Samsung OfficeServ 7100 General Description

NEC DSX PC Programmer

Posted on

To make programming changes on the NEC DSX-80, DSX-40 or DSX-160 telephone system with PC Programmer you will first need to download and install the software (click here).  After installing the program on your PC you will need to connect the NEC telephone system to your Local Area Network and assign an IP address to the telephone system.   Contact your network administrator for assistance.

Open the NEC PC Administrator and click on System and select Connect from the drop down menu.  Click the Ethernet option and insert the IP address you used for the NEC DSX telephone system.  Click OK and you should be prompted for the system password.

The first thing you should do after connecting to your system is click the Retrieve icon and save a copy of your database.

Recording the night greeting on a NEC DS 22-Btn Display telephone

Posted on

STEP 1: WITH THE HANDSET IN THE CRADLE PRESS ICM, DIAL 700.

“please enter the mailbox number”

STEP 2: DIAL 300

“you have no new messages”

STEP 3: DIAL 72

“welcome to the system administrator menu”

STEP 4: PRESS THE BUTTON UNDER INST (OR NEXT TO INSTRUCTION ON A 34-BUTTON SUPER DISPLAY PHONE)

“please enter the mailbox number for the instruction menu”

 STEP 5: DIAL 000

 STEP 6: PRESS THE BUTTON UNDER REC

“start recording when you hear the tone, press the # key when you are done”

Thank you for calling. You have reached our office after hours.  Normal hours of operation are Monday – Friday 8:30 to 5:00.  If you know your party’s extension you may dial it at any time during this message. To leave a message in our general delivery mailbox press 1. For a company Directory press 2. For an operator press 0 or remain on the line.

STEP 7: PRESS THE BUTTON UNDER DONE OR #

STEP 8: PRESS THE BUTTON UNDER EXIT AND HANG UP

Recording the Day Greeting – NEC DS 22-Button Display Tel

Posted on Leave a comment

STEP 1: WITH THE HANDSET IN THE CRADLE PRESS ICM, DIAL 700.

“please enter the mailbox number”

STEP 2: DIAL 300

“you have no new messages”

STEP 3: DIAL 72

“welcome to the system administrator menu”

STEP 4: PRESS THE BUTTON UNDER INST (OR NEXT TO INSTRUCTION ON A 34-BUTTON SUPER DISPLAY PHONE)

“please enter the mailbox number for the instruction menu”

 STEP 5: DIAL 001

 STEP 6: PRESS THE BUTTON UNDER REC

“start recording when you hear the tone, press the # key when you are done”

Thank you for calling. If you know your party’s extension you may dial it at any time during this message. To leave a message in our general delivery mailbox press 1. For a company Directory press 2. For an operator press 0 or remain on the line.

STEP 7: PRESS THE BUTTON UNDER DONE OR #

STEP 8: PRESS THE BUTTON UNDER EXIT AND HANG UP